
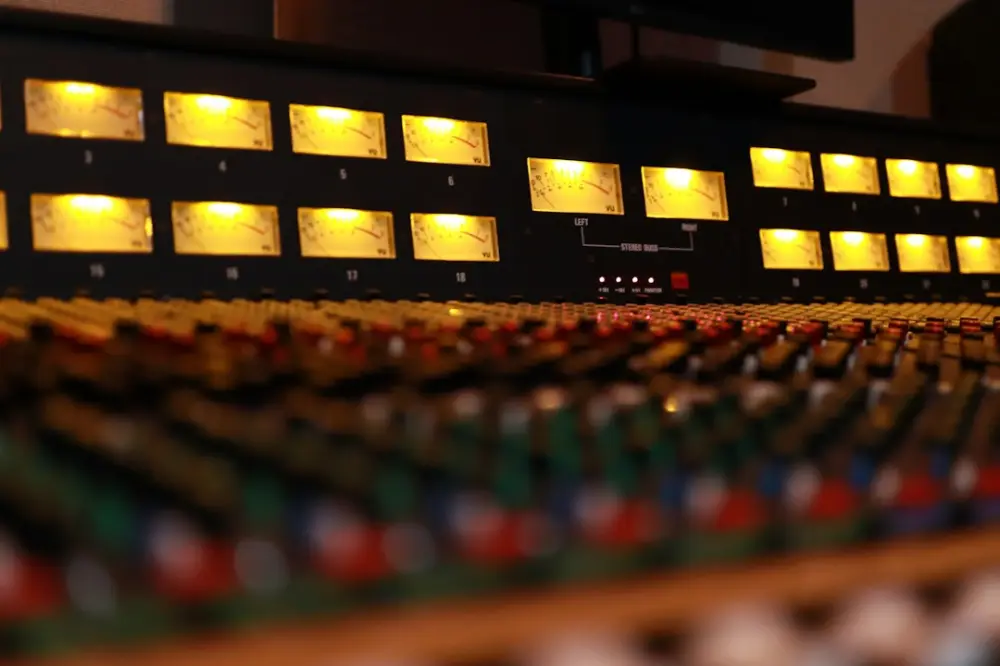
Experimental sound synthesis is the process of creating non-traditional audio textures by manipulating signal paths beyond standard musical conventions. Unlike subtractive synthesis which often mimics acoustic instruments, experimental methods use frequency modulation, granular processing, and feedback loops to generate unpredictable, evolving sounds. It prioritizes the exploration of timbre, movement, and sonic character over traditional melodic structures.
To build these patches effectively, you need to shift your focus from playing notes to shaping behavior. Whether using modular hardware or software environments like VCV Rack or Max/MSP, the goal is to design a system that breathes and reacts. This approach allows a musician to move away from static presets and toward a living, sonic organism that responds to subtle changes in voltage or data.
Essential Components of a Synthesis Patch
Every experimental patch begins with a source, but the nature of that source defines the entire sonic trajectory. While a standard synthesizer uses a Voltage Controlled Oscillator (VCO) to produce a steady wave, experimental synthesis often looks for sources with inherent instability. This might include a contact microphone capturing the vibrations of a metal spring or a digital noise generator pushed into extreme bit-crushing.
Beyond the source, the Voltage Controlled Amplifier (VCA) and Filter (VCF) act as the primary sculptors. In experimental contexts, these are not just for volume and brightness; they are tools for spatialization and rhythmic gating. For example, using a Low Pass Gate (LPG) instead of a standard VCA can provide a more organic, percussive decay that mimics the natural physics of struck objects. Attenuators and mixers also play a critical role, allowing you to blend multiple signal paths—such as mixing a clean sine wave with a distorted feedback loop—to create complex, layered timbres.
Step-by-Step: Building from a Single Sine Wave
Starting with a simple sine wave is the best way to understand how complexity emerges from basic foundations. Follow these steps to transform a pure tone into a complex experimental texture:
- Initialize the Source: Set up a single sine wave oscillator at a low frequency (around 60Hz to 100Hz) to provide a solid tonal anchor.
- Introduce Frequency Modulation (FM): Patch a second oscillator into the pitch or FM input of your first oscillator. Slowly increase the modulation depth until the sine wave begins to grow sidebands, turning the pure tone into a metallic or gritty texture.
- Add Resonant Filtering: Run the output through a high-pass filter with the resonance turned up near the point of self-oscillation. Sweep the cutoff frequency to find "sweet spots" where the filter interacts with the FM sidebands.
- Create a Feedback Path: Take a portion of the filtered signal and route it back into the FM input of the second oscillator. This creates a recursive loop where the sound begins to modulate itself based on its own output.
- Apply Dynamic Control: Use an envelope follower or a slow LFO to modulate the VCA, ensuring the sound isn't a constant drone but has moments of silence and peak intensity.
Using Modulation to Create Evolving Textures
Static sounds rarely hold interest in an experimental context. To keep a patch engaging, you must employ modulation that changes over long periods. Low-Frequency Oscillators (LFOs) are the standard tool here, but for experimental music, they should be used non-linearly. By patching one LFO to modulate the speed of another LFO, you create "drifting" patterns that don't repeat in a predictable way.
When exploring creative uses of sonic texture in experimental music, the focus shifts from the pitch of the note to the microscopic details of the sound’s grain. For instance, using a random voltage source to modulate the position of a granular sampler can create a shimmering effect that sounds like rushing water or breaking glass. This type of modulation ensures that the patch feels "alive," providing a sense of movement that keeps the listener immersed in the environment.
Incorporating Randomness and Generative Logic
Experimental synthesis often relies on a degree of autonomy within the patch. Generative logic involves setting up rules that allow the synthesizer to make "decisions" about pitch, timing, or timbre. Tools like the Turing Machine (a random looping sequencer) or Bernoulli gates can introduce controlled chaos. A Bernoulli gate, for example, takes a single trigger and sends it to one of two outputs based on a probability setting, allowing you to create rhythmic variations that never repeat exactly.
This approach informs the art of sound: how experimental music is redefining live performance by making every show a unique, non-repeatable event. By setting up a generative patch, the performer acts more like a conductor or a gardener, nudging the system in certain directions rather than forcing every single note. This creates a dialogue between the human and the machine, which is a hallmark of modern FM synthesis and generative design.
Common Mistakes in Abstract Sound Design
The most frequent mistake in experimental synthesis is "filling the spectrum." When every frequency range—from the sub-bass to the high-end hiss—is occupied at once, the result is often a flat, tiring wall of noise. To avoid this, use subtractive EQ to carve out space. If your patch has a heavy low-end rumble, high-pass your delay tails and reverbs to prevent the low frequencies from becoming a muddy mess.
Another common error is the lack of dynamic range. Experimental music does not have to be loud at all times. Silence and near-silence are powerful tools that give the heavier sections more impact. If a patch is constantly at 0dB, the listener's ears will eventually habituate to the sound, and the emotional weight will be lost. Use granular synthesis carefully to create sparse, pointillistic textures that allow the composition to breathe.
Managing Feedback and Sonic Disaster in Your Patches
In the world of experimental performance, the line between a beautiful texture and a system-crashing peak is very thin. Managing feedback requires a proactive approach to gain staging. Always place a limiter at the very end of your signal chain to protect your ears and your equipment. If you are working with high-gain feedback loops, keep a dedicated fader or a "kill switch" nearby to immediately cut the signal if it spirals out of control.
True experimentation requires a willingness to let the patch break. At Feedback & Disaster, we prioritize the moments where the signal path reaches its limit and begins to produce unexpected artifacts. These "disasters" are often where the most interesting timbres are found. By mastering the balance between control and chaos, you can build synthesis patches that serve as the foundation for immersive, emotionally resonant performances. Whether you are building a wall of noise or a delicate ambient environment, the key is to stay curious about how each module interacts with the next.